Upload the configuration "BAS, configurations "UTP", "UVP", "UT 2.3" and transfer to work
How to save the configuration of the database and send it to our support team.
1. Open the program launch window and start the required database in the configurator mode (Fig. 1) by pressing the "Configurator" button (circled in red frame).
Note : the red arrow shows the full path on the hard drive where the database is stored.
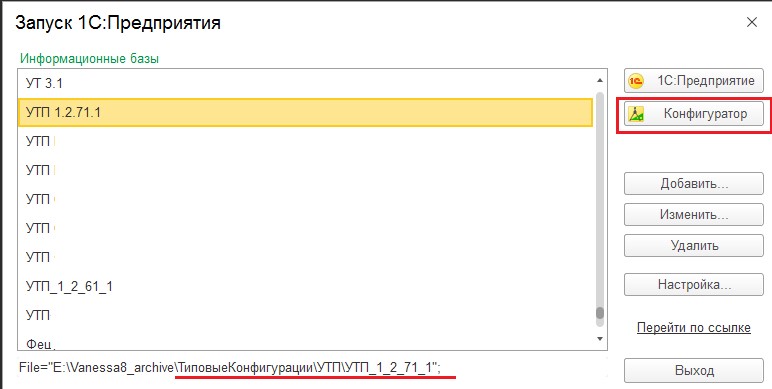
Fig.1. The window for starting the program and selecting the required database.
2. We go to the configurator under the user with administrative rights (Fig. 2).
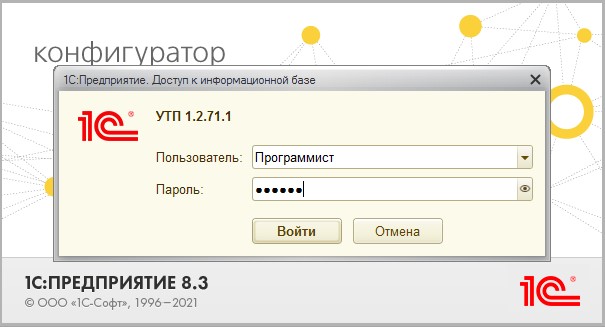
Fig.2. Selecting a user with administrative rights
3. In the configurator, in the Configuration menu, click the Open Configuration button, if it is active. If this button is not active, then the configuration is already open. Fig. 3 shows an option when the configuration is already open.

Fig.3. The configurator window. Menu "Configuration\Open configuration"
Note: In Fig. 3. The menu item "Configuration\Open configuration" is highlighted with a red border, the configuration itself with metadata-directories, documents, etc., is highlighted with a blue border.
4. Next, select the Configuration menu, the Save Configuration to File button (Fig. 4)
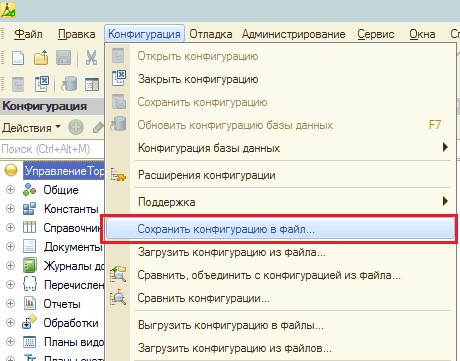
Fig. 4. "Configuration" menu, "Save configuration to file" button
5. We select the path to save the future configuration file and click "Save" (Fig.5)
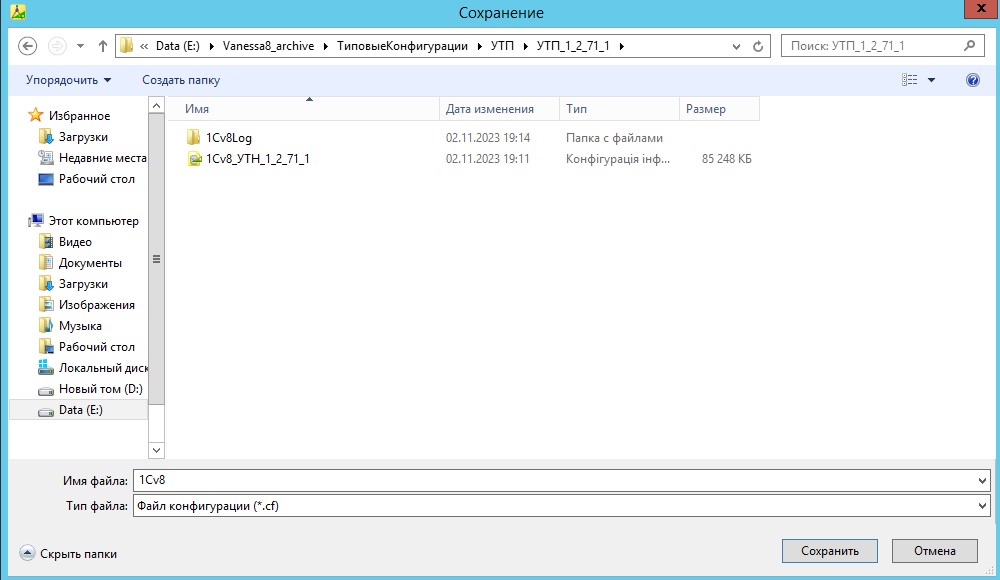
Fig.5. Dialog of saving the configuration file to the hard disk
6. After successfully saving the configuration file you can close.
7. Now you need to send the file to us, but because the file size is too large, to send it by e-mail, you need to upload it to any file-exchanger.
Please do not back up the file, it is not effective for this format. It is recommended that you rename the file by adding the configuration version and the name of your organization to the file name.An example of how to upload this file to Google Drive.
8. If you have a mailbox on gmail.com, you need to go to the Google Drive section (Fig. 5.1).
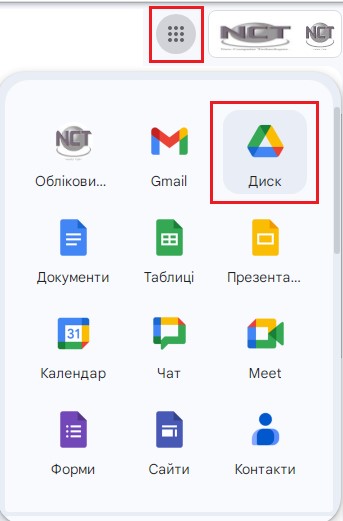
Fig. 5.1. "Google Drive" section in the mailbox on gmail
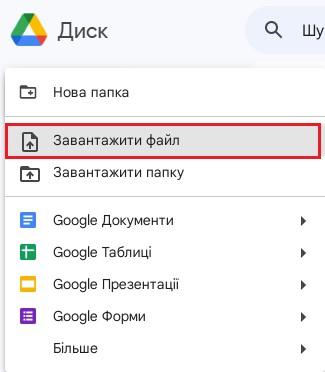
Then, when is in the "Google Drive" section, click the "Upload files" button (Fig. 6) and select the configuration file downloaded.
9. By clicking the "Upload files" button, wait until the procedure for uploading the file to the server is completed (Fig. 7)
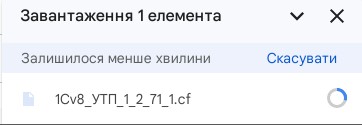
Fig. 7. Dialog file download to "Google.Disk"
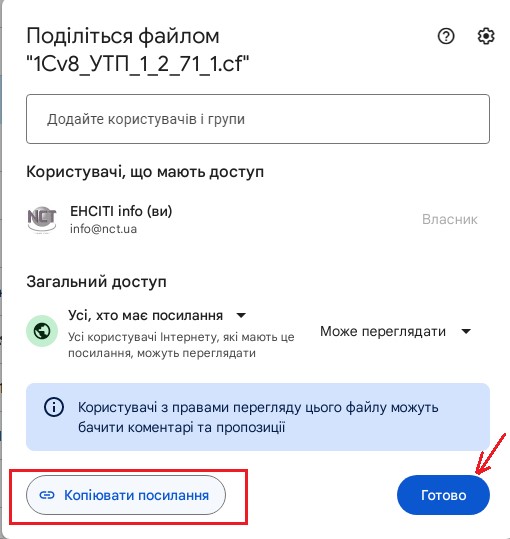
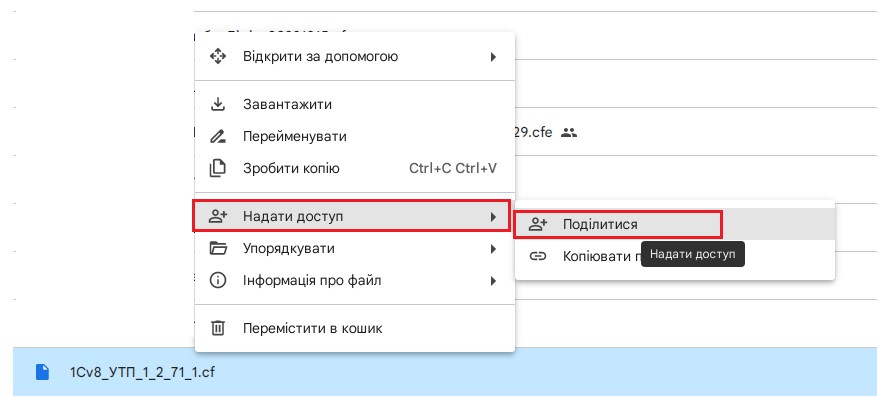
10. After the download is complete, select the configuration file from the list of downloaded files and at the bottom of the site enable access to it via the link (Fig. 9).
You need to enable the “Grant access” mode, then click on “Share” (Fig. 9).
Next, you need to enable the “Everyone who has a link” mode (Fig. 10).
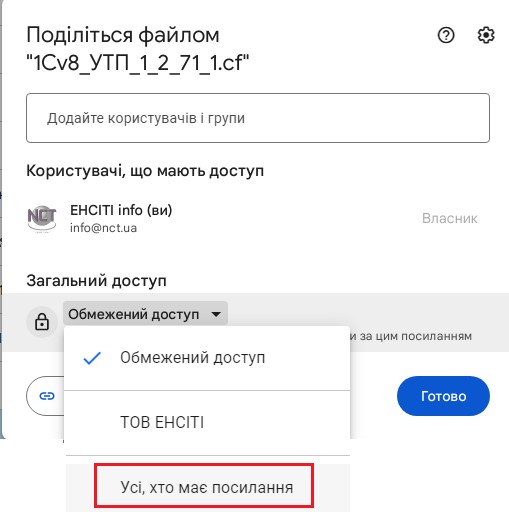
Fig. 10. Enable access to a file uploaded to Google Drive.